- Print
- DarkLight
Mogli Scheduler - Guide for Configuration & Admin Users
Article summary
Did you find this summary helpful?
Thank you for your feedback
Mogli Scheduler leverages Mogli SMS to allow your users to send their appointment availability across unique, branded links.
Installation
You must have purchased Mogli Scheduler with your Mogli SMS plan to have this enabled. Contact your Mogli Account Manager if you are unsure of your product list.
Mogli Scheduler Requires Blanca Peak (Mogli Version 5.103.1)
Configuration
When you are interested in starting your Scheduler Journey, inform your Mogli contact or email help@mogli.com. We will confirm your access to the feature, enable it, and email you to confirm you can take your next steps.
Step 1 - Admin Edit Metadata
- Navigate to Setup in your Org and Search for Custom Metadata Types
- Click Manage Records to the left of the Mogli Integrated Object
- Select first object and populate the corresponding fields under Mogli Scheduler Parameter Fields - repeat for all objects that are configured
Note: If you are upgrading to v5.103.1 you will need to add the Mogli Scheduler Parameter Fields to the Mogli Integrated Object Page Layout

Step 2 - Admin Configure
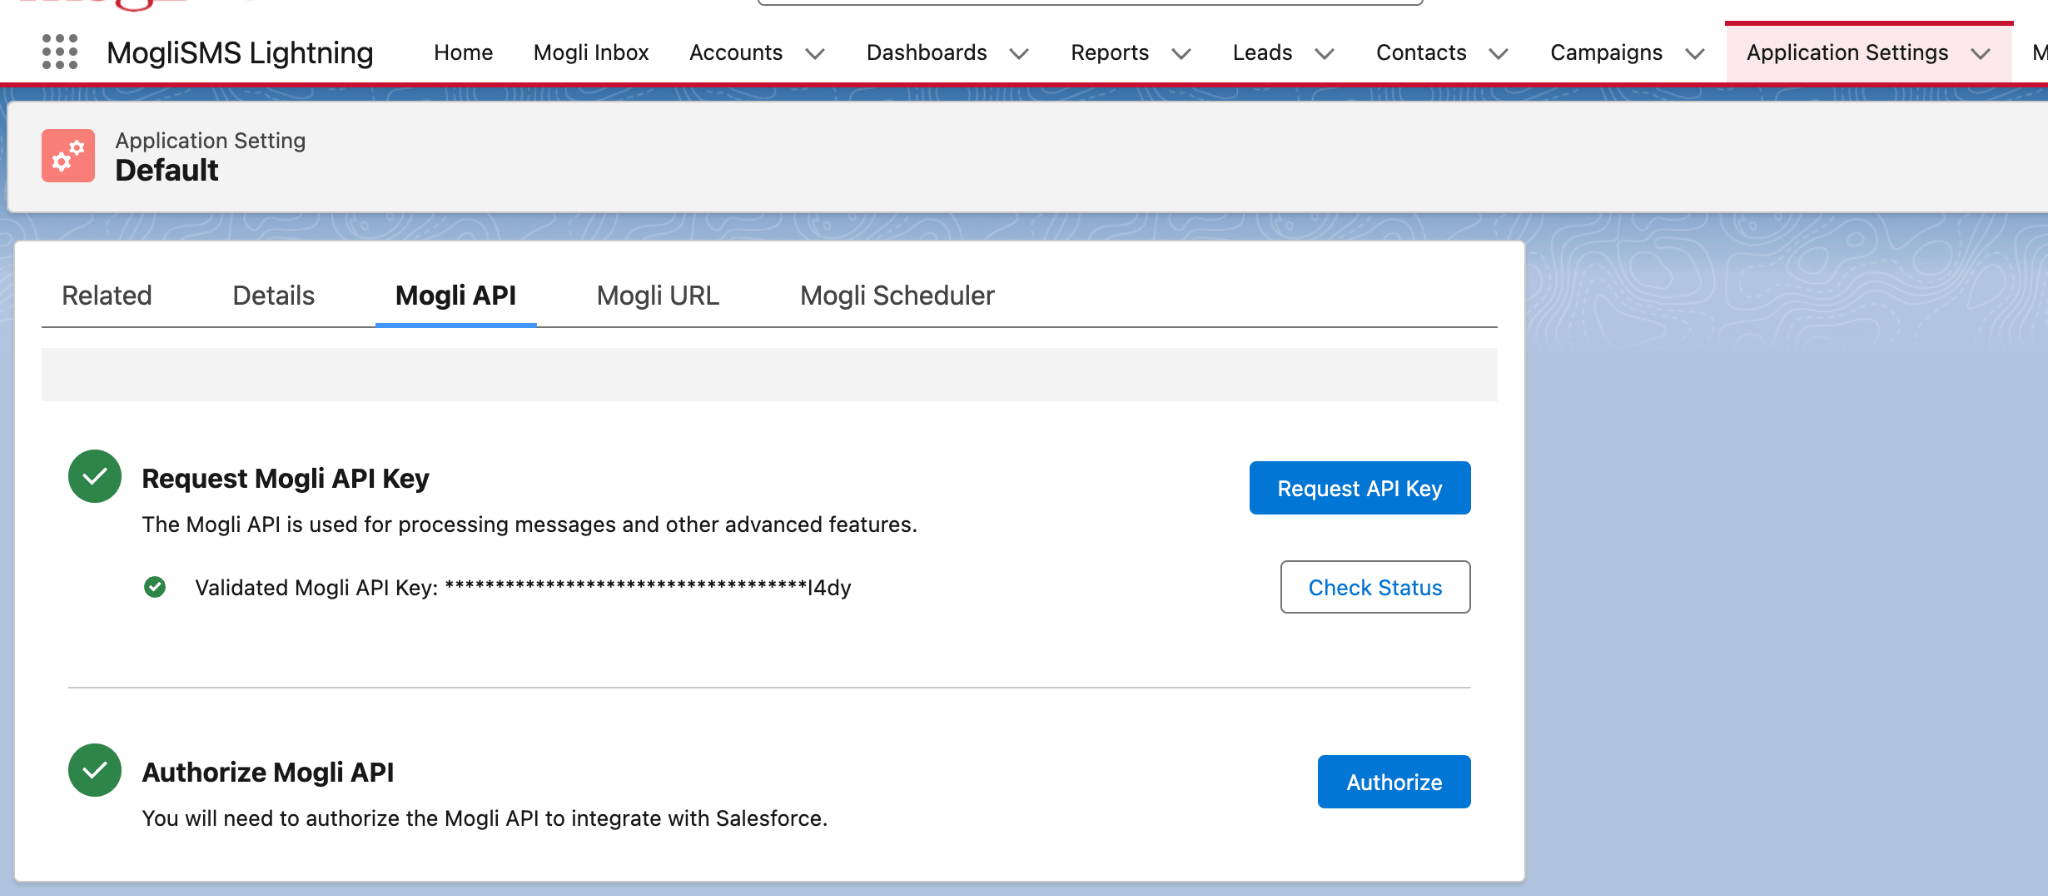
- Authorize Mogli API in your Org: Navigate to the Mogi SMS Application Settings and locate the Mogli API tab
- Note: You must ensure you have Authorized Mogli API for Scheduler set up to work

- Note: You must ensure you have Authorized Mogli API for Scheduler set up to work
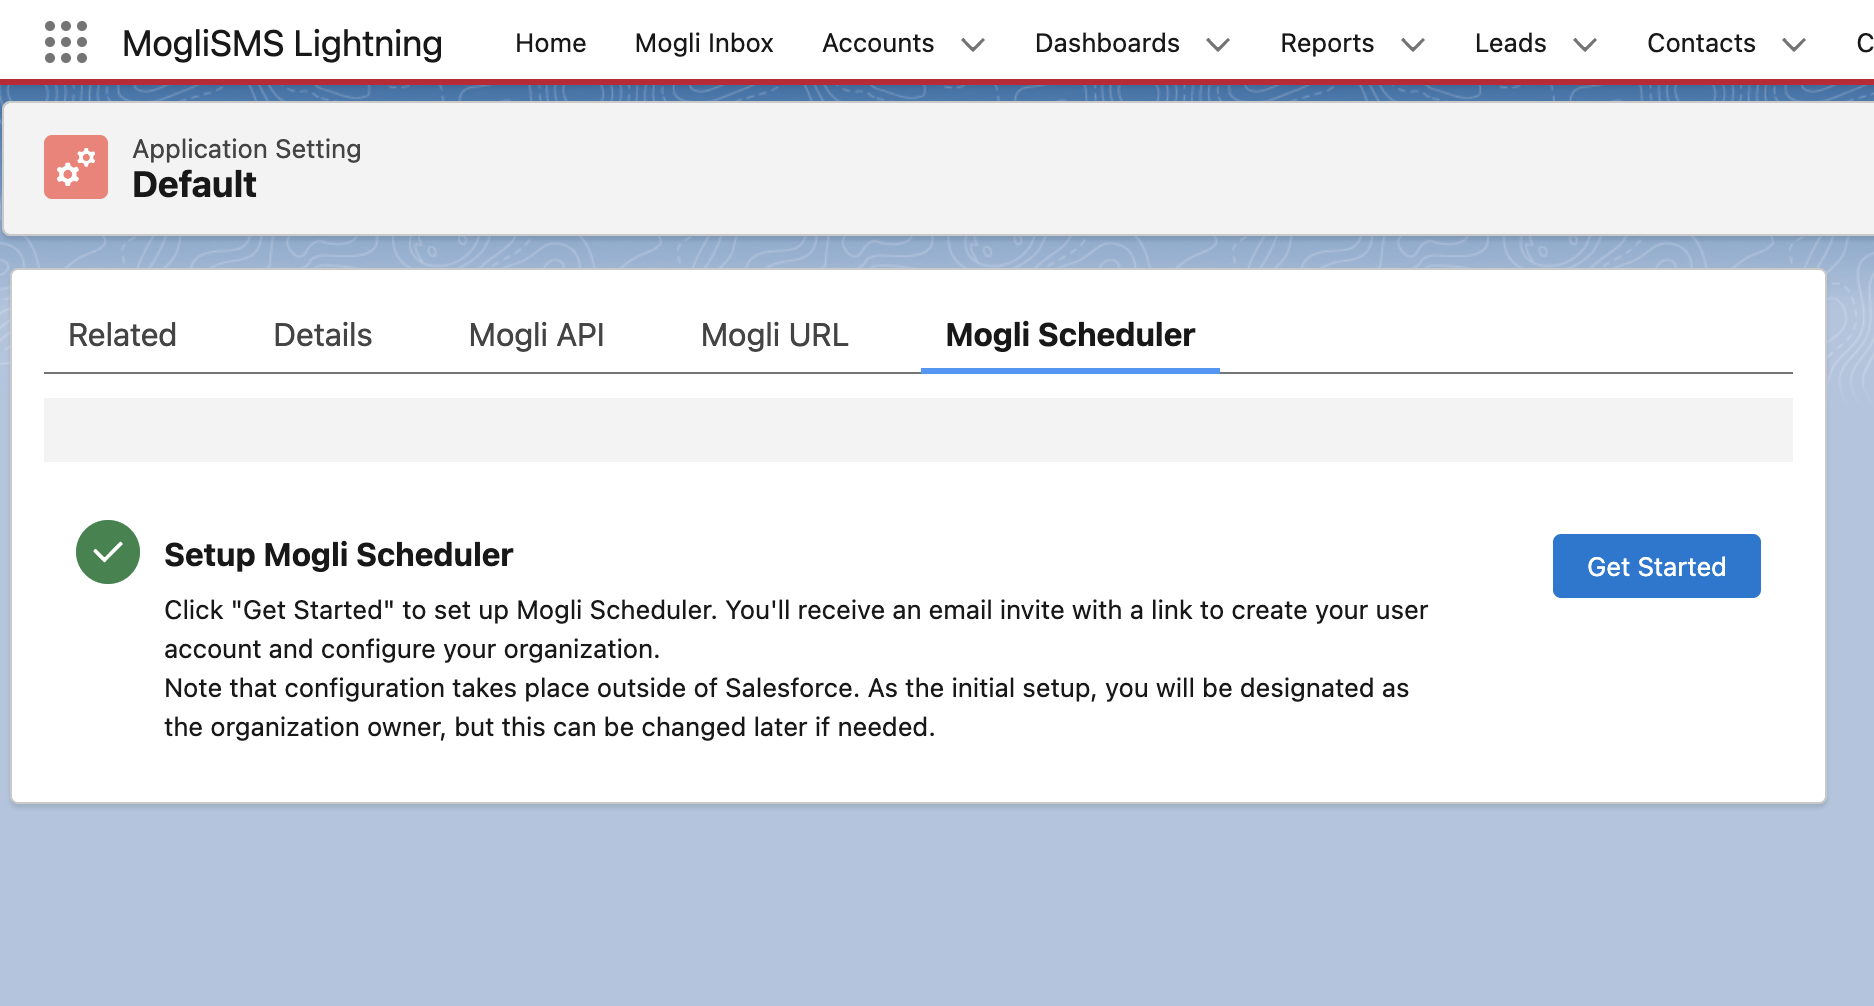
- Migrate to Mogli Scheduler Tab and select Get Started. You should see a Success Message indicating your Webhook is good to go!


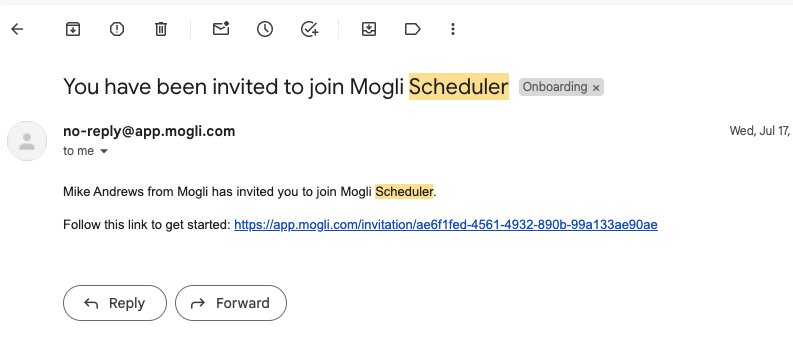
- An email will be sent to your inbox as an invitation to Mogli Scheduler, click on the invitation link. This will direct you to app.mogli.com and ask you to create a Profile.

Step 3 - Admin Log In
- Follow Prompts to create Username, Password and Profile. External User Id = Salesforce User ID set up for owner automatically
- Note: Your users will follow other instructions for their ID
- Set Domain - instructions on how to set a domain will appear - NOTE: you CANNOT use the same domain as your Mogli URL links https://app.mogli.com/dashboard/domains (example: mogli.com - ‘root’ domain , scheduler.mogli.com - sub domain , scheduler.mogli.com/name - slug)
- Navigate Back to Salesforce Org. Create Tab (Setup > Tabs) > Named: Mogli Domains > New > Record type scheduler > Status = Active


Step 4 - Admin Invite User
- Navigate Back to https://app.mogli.com/
- Note: You may need to Switch from User Panel to Admin Panel
- Add Users via Email


Was this article helpful?


